Materials used:
Screwdriver
2 Pairs needle nosed plyers (for fishing out wire)
Plastic scraper
A few electrical caps (blue, to replace damaged ones)
Spray cleaner/degreaser
Paper towels
Galvanized screws or Olympic rivets (#10 x 1/2" pan head slotted zinc, 3 per light)
Vulcem caulk and caulking gun
Replacement teardrop lights (available at airstream dreams)
Steps
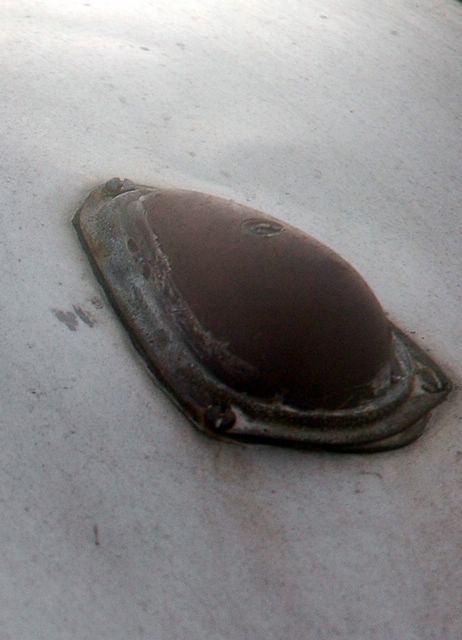
The old Bargemen lights often have a dull lens, have broken cauk seals and are constructed from a rustable steel body, making them good candidates for replacement
1. Unscrew old lights. Carefully pull the wiring and cap out of the trailer shell, fishing for any that go astray. Note that one light will only have one wire--the lights are wired in a chain and this is the last light. 
From the looks of the wiring, it appears that the old Bargeman lights were from a much older stock supply than my 1961 trailer
2. Strip clean a half inch of wiring from the new lights. Match up the new lights to the old, making sure that you replace old lights with the same colored new ones.
3. Unscrew the old wiring, checking the cap to identify if it is clean and can be reused. Twist the wiring from the new light with the wiring from the trailer. Cover it with an electrical cap and screw it together tightly.
3. Unscrew the old wiring, checking the cap to identify if it is clean and can be reused. Twist the wiring from the new light with the wiring from the trailer. Cover it with an electrical cap and screw it together tightly.
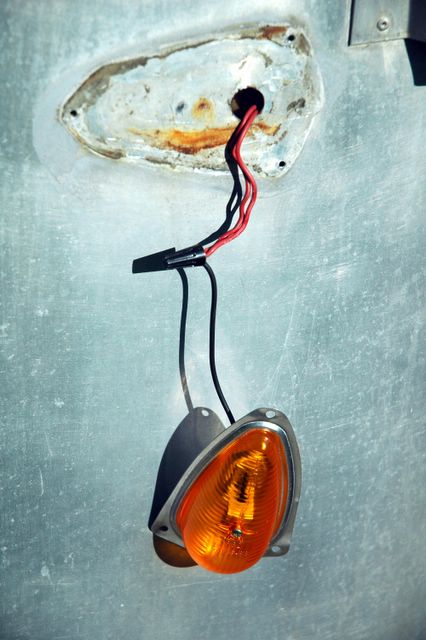
New light connected
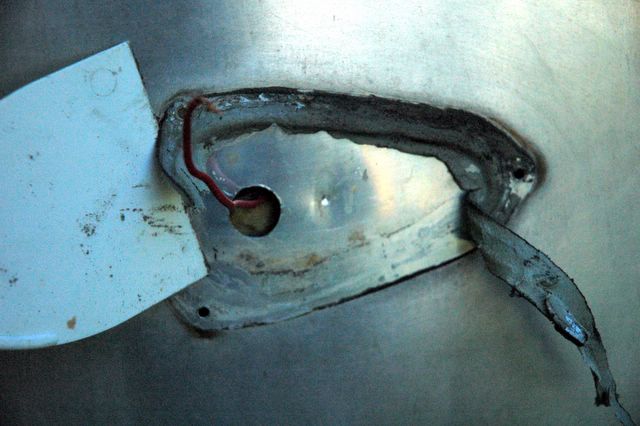
Remove the old cault and clean the aluminum surface
5. Apply a thick bead of Vulcem caulk to the circular depression on the back side of the new lights.
6. Reposition the lights on the trailer and replace the screws. Caulk will seep out and you will find gaps between the trailer and light. Some of the gaps can be minimized by pressing to bend the aluminum edges of the lights closer to the trailer. Wipe off the excess Vulkem and allow the remaining caulk to cure.
6. Reposition the lights on the trailer and replace the screws. Caulk will seep out and you will find gaps between the trailer and light. Some of the gaps can be minimized by pressing to bend the aluminum edges of the lights closer to the trailer. Wipe off the excess Vulkem and allow the remaining caulk to cure.
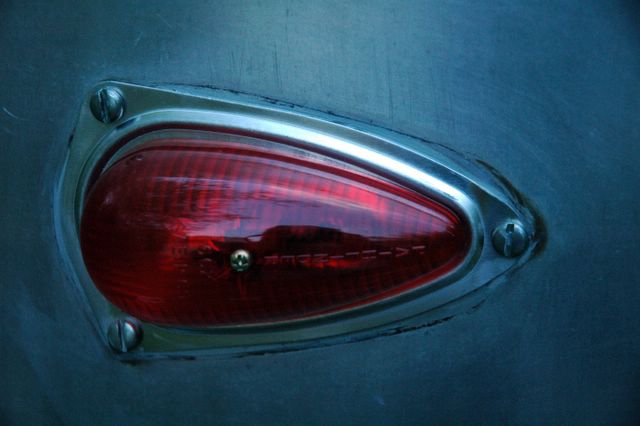
New light installed
7. Wrap remaining Vulkem in foil and store in the freezer. Defrost it a full hour before the next task.
8. After the caulk fully cures, fill in the remaining gaps with more Vulcem (apparently, using a turkey basting syringe comes in handy here). Also, carefully remove the screws one by one (try not to disturb the seal), adding Vulkem to the hole before replacing each screw or applying an Olympic Rivet. FWIW, I plan to do this step next weekend.
Stand back, crack open a cold one and admire your work!
I found that the new lights do not completely fill in the profile of the old lights. This leaves a trace of rust on the trailer surface. Folks embarking on polish jobs may wish to incorporate light replacement into their polishing project, buffing out the rust and replacing lights as they go. For us, we are doing this to stop water leaks (and I did find that two lights leaked). We plan to clean up the rust later on when we take on polishing.
1 comment:
Your getting way ahead of us!!!!!!!!
Good news is you showed us how to do it and that is great!
Thanks,
Paris and Dolly
"Airbean"
Haven't posted the name yet but that is what we are going to call our new old little home away from home.....
Post a Comment